
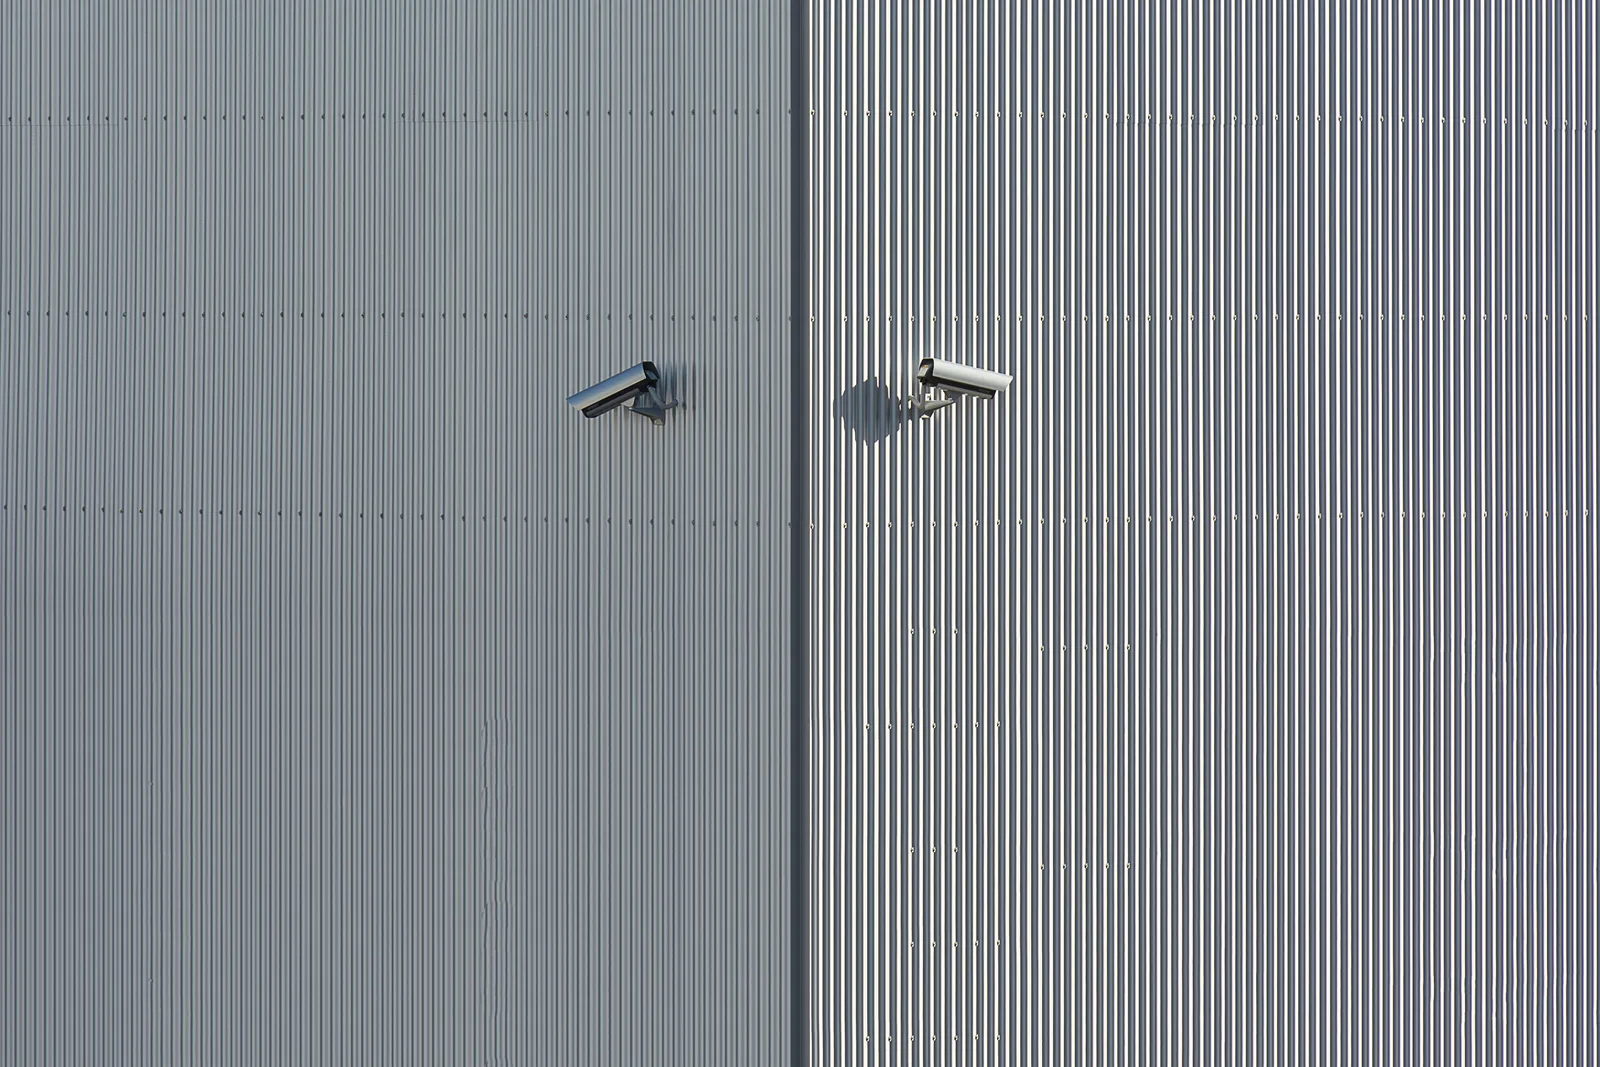
After twenty years of installing surveillance systems across the San Gabriel Valley, we can tell you the most common problem we find on service calls is not cheap cameras or bad recorders. It is placement. A homeowner has four cameras and none of them can produce a usable face. A warehouse has coverage of every wall and a blind spot at the one door burglars actually use. This guide covers where cameras should go, how high to mount them, and the mistakes that quietly ruin otherwise good systems.
Start With What You Actually Need to See
Before picking mounting spots, decide what each camera’s job is. In the industry we think in terms of a simple ladder: detection, observation, recognition, and identification. A camera watching a long fence line only needs to detect that someone is there. The camera at your front door needs to identify a face well enough to hand to a sheriff’s deputy.
That distinction drives everything else. Identification shots need the camera closer, lower, and pointed at a natural choke point. Coverage shots can sit higher and wider. Most properties need a mix of both, and the biggest planning mistake is treating every camera as a coverage camera.
The Locations That Matter Most
Front door. Around 34 percent of burglars walk straight through the front door, so this is the single highest value camera on a home. Mount it to capture faces as people approach, not the top of a hat as they stand at the threshold.
Driveway and vehicle gates. Vehicles and plates are the other identification target. If your property has an automatic gate, a camera at the gate approach does double duty: it documents every vehicle entry and lets you visually confirm visitors before opening. Plate capture is its own discipline, requiring a tighter lens angle and a mounting height closer to headlight level, so tell your installer if plates are a priority.
First-floor windows and side yards. Ground-level windows out of street view are the second favorite entry route after doors. A camera covering the side yard path usually covers several windows at once.
Rear entries, garages, and roll-up doors. For businesses, the back door, loading dock, and dumpster area see more after-hours activity than the front entrance. For homes, the garage and its side door deserve the same respect as the front door.
Points of sale and reception areas. Indoor commercial cameras earn their keep at registers, lobbies, and anywhere cash or inventory changes hands. Pair them with your access control system and you can match every door event to a face on video.
How High Should Security Cameras Be Mounted?
The standard answer is 8 to 10 feet for residential and 12 to 14 feet for commercial exteriors, and the reasoning is a trade-off. Mount too low and the camera is easy to tamper with or steal. Mount too high and you get the classic convenience-store problem: a perfect view of the top of everyone’s head and no usable face.
Our rule of thumb from the field:
- Identification cameras (doors, gates, choke points): 8 to 9 feet, angled down no more than about 15 to 30 degrees
- Coverage cameras (yards, lots, fence lines): 12 feet and up is fine, since you only need to see that activity is happening
- Anything below 8 feet should be a vandal-rated dome or placed out of casual reach
If a camera must go high on a two-story wall, compensate with a second, lower camera at the choke point people must pass through.
Lighting Makes or Breaks the Image
More footage is ruined by light than by camera quality.
Never point a camera at the sun’s path. A west-facing camera in Southern California will spend every evening blinded by glare. If an entrance faces the sun, mount the camera to the side and shoot across the approach instead of into it.
Watch for backlighting at doors. A camera inside a lobby pointed at a bright glass entrance will render every visitor as a silhouette. Cameras with true wide dynamic range (WDR) handle this, but placement that avoids the problem is free.
Check the scene at night, not just at noon. Infrared has a range limit, typically 30 to 100 feet depending on the camera. A camera that looks great at 2 pm may show a black void at 2 am. Landscape lighting or a simple LED fixture on a dusk-to-dawn sensor dramatically improves nighttime color detail.
Do not shoot through glass. A camera behind a window reflects its own infrared at night and blinds itself. Outdoor scenes need outdoor cameras.
Common Placement Mistakes We Get Called to Fix
- Cameras mounted so high the footage cannot identify anyone
- Blind spots directly beneath the camera, especially at building corners
- IR bounce from eaves, walls, or spider webs washing out the image
- Exposed cable runs that can be cut, instead of conduit or protected routes
- Indoor-rated cameras cooking in direct SoCal sun
- Every camera aimed at the yard, none at the doors people actually use
A short professional site walk catches all of these before anything is drilled. That is most of what you are paying an installer for.
California Privacy Rules You Should Know
Two legal points come up on almost every California installation.
Audio is different from video. California Penal Code Section 632 makes it illegal to record confidential conversations without the consent of all parties. Many modern cameras ship with microphones enabled by default. For most business installations we recommend disabling audio recording or posting clear notice, and we walk through this with every commercial client.
Point cameras at your property, not into a neighbor’s private space. Covering a shared driveway or the street in front of your home is fine. Aiming into a neighbor’s bathroom window or backyard invites civil liability. Restrooms, locker rooms, and similar private areas are always off limits, at home or at work.
One more note for schools, government contractors, and federally funded projects: the NDAA restricts certain camera brands on those sites. We cover which brands qualify in the compliance section of our surveillance cameras page, and we install NDAA-compliant lines like Axis, Hanwha, and Avigilon.
Placement Is a System, Not a Camera List
The strongest layouts overlap. The gate camera sees the vehicle, the driveway camera sees the walk-up, and the door camera gets the face. Each camera covers another camera’s blind spot, and critical areas are visible from two angles so one blocked or failed camera does not create a hole. This is also where integration pays off: tying cameras to your access control means every badge event, gate opening, and doorbell press has matching video, a topic we covered in our article on access control trends.
And once the system is in, treat it like the mechanical equipment it is. Lenses need occasional cleaning, spider webs love warm IR illuminators, and recorders need their storage checked. The same habit of seasonal upkeep we preach in our gate maintenance guide applies to cameras.
Get a Professional Site Assessment
Every property has its own sight lines, light problems, and entry points, which is why we start every camera project with a walk-through rather than a quote over the phone. AD Security, Inc. has designed and installed surveillance systems for homes, HOAs, and commercial facilities across Southern California since 2004.
Ready to put cameras where they will actually protect you? Contact AD Security, Inc. at (626) 421-7250 or request a site assessment. Our technicians serve Covina and all of Southern California with professional security camera installation and service.